Liner Protection System Options
Description
Since 1992 we have developed 5 different ways of protecting your liner.
We will outline and review them here!
These 5 liner protection concepts use different products, different Ultimate Rink designs, systems and configurations of assembly and all are dependent on the style of your rink build.
1.Order a liner one size bigger then you need and leave it with 1 fold (still folded) in the bottom of your rink lengthwise. Then create a 2nd fold width wise and lay it against your grass, the rink bottom at the deep end….. or vise a versa. Then fill with water. The water will hold “the fold” down as it fills. The water will turn to ice, you will skate and play and now you have extra liner saved for next year. The ice melts, you trim off the damaged part and “presto” you now have virgin poly that was hiding under your ice. If you typically need a 32′ wide order a 40′ wide, if you need a 25′ wide order a 32′ wide etc. Remember your 5′ of extra length as well to take care of your ends.
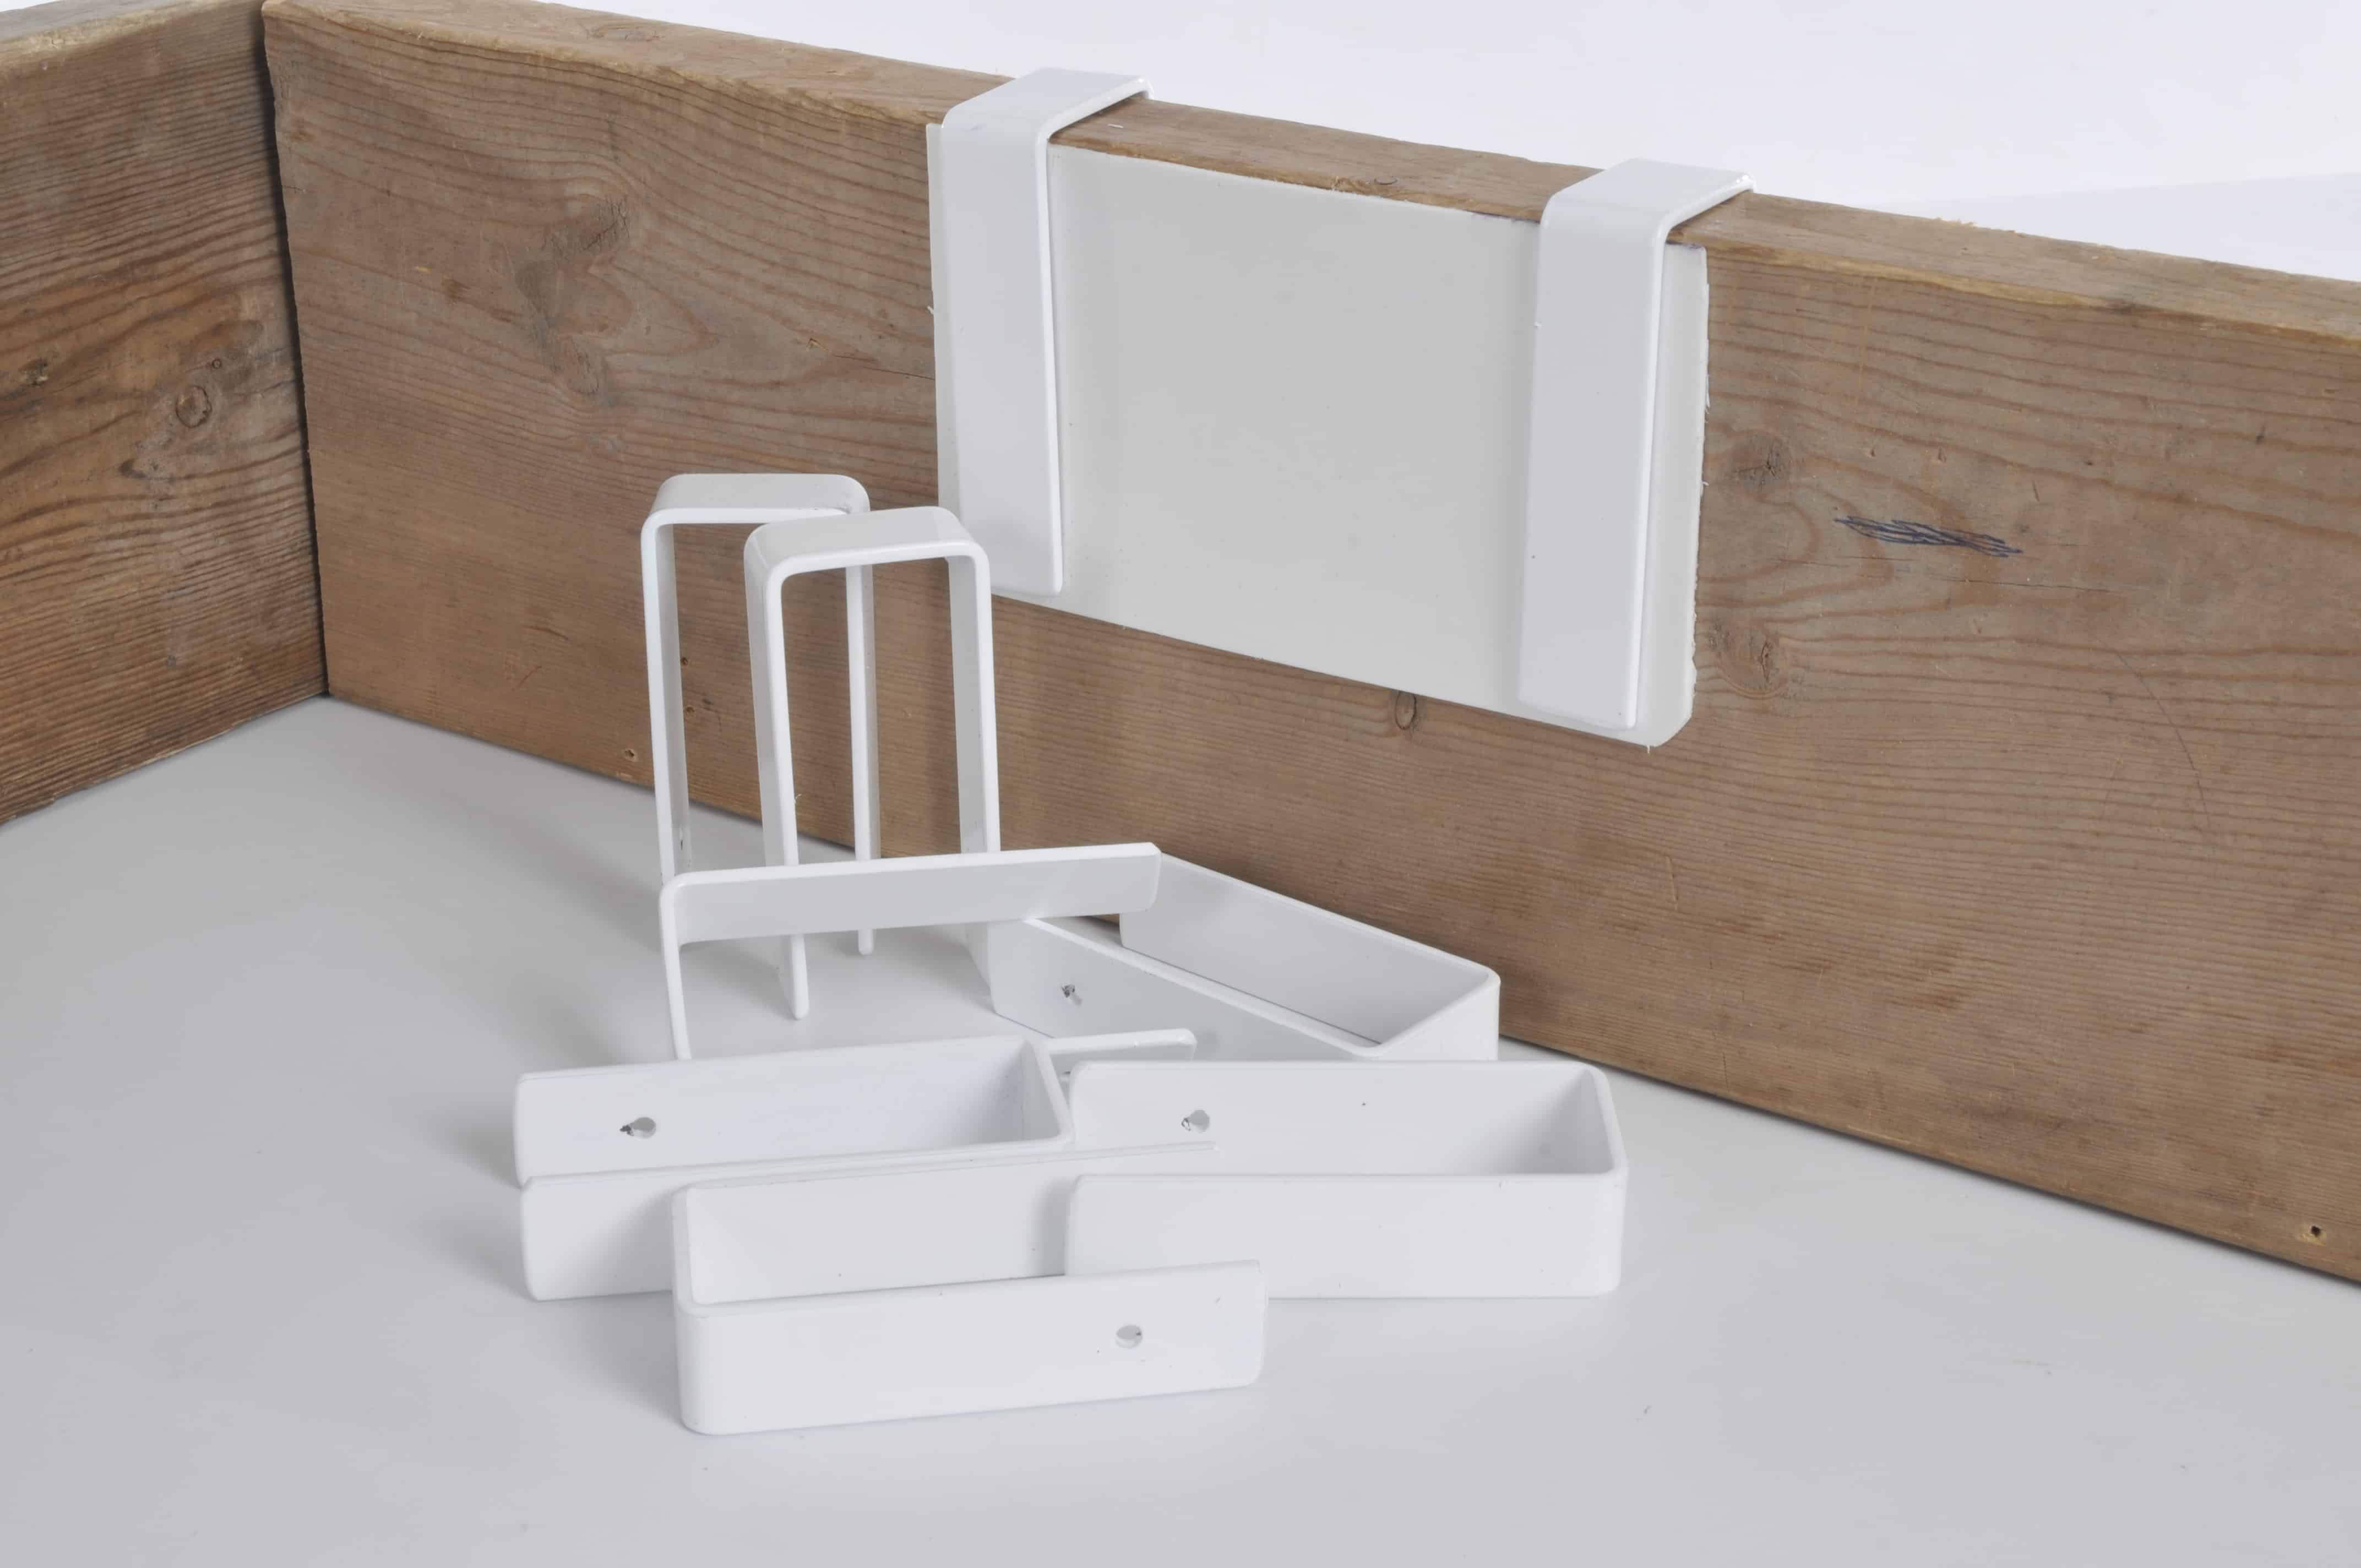
2.With our Classic Rink Stake you would be able to install your liner outside the frame of your ice rink creation and yes protect it. These are on sale and the best price rink stake ever. With this option you would need a outer liner guard that would essentially protect the liner by sandwiching it in place with a 1″ x 6″.
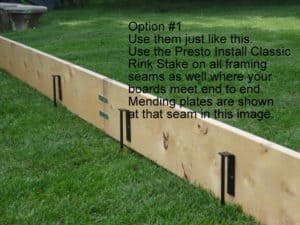

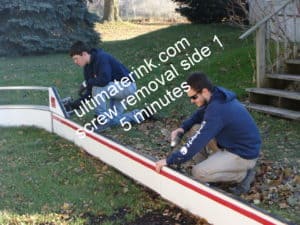
3. With the introduction of our 5 way Rink Stake in 2005 and a slight name change it opened up the opportunity to advance the 5 in 1 Rink Stake to a liner placement and liner protection on the inside of your rink frame. The first option was with a spruce 1″x 6″ and soon thereafter we introduced LPS (Liner Protection Kickplate). LPS is a 1/8″ thick puckboard in varying widths that was manufactured and sold on a 50′ roll. This roll was then easy to ship across the country and line the inner rink frame/boards of your rink with a white hard surface that reflects the sunshine(heat) away from your rink while protecting it from damage. With this method you then improve your rink appearance and protect your liner. Your first step to Real Rinks for Real Yards! Practical and playful!!!
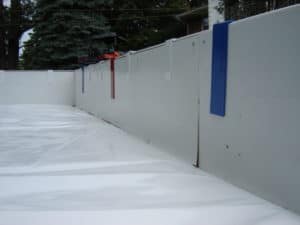
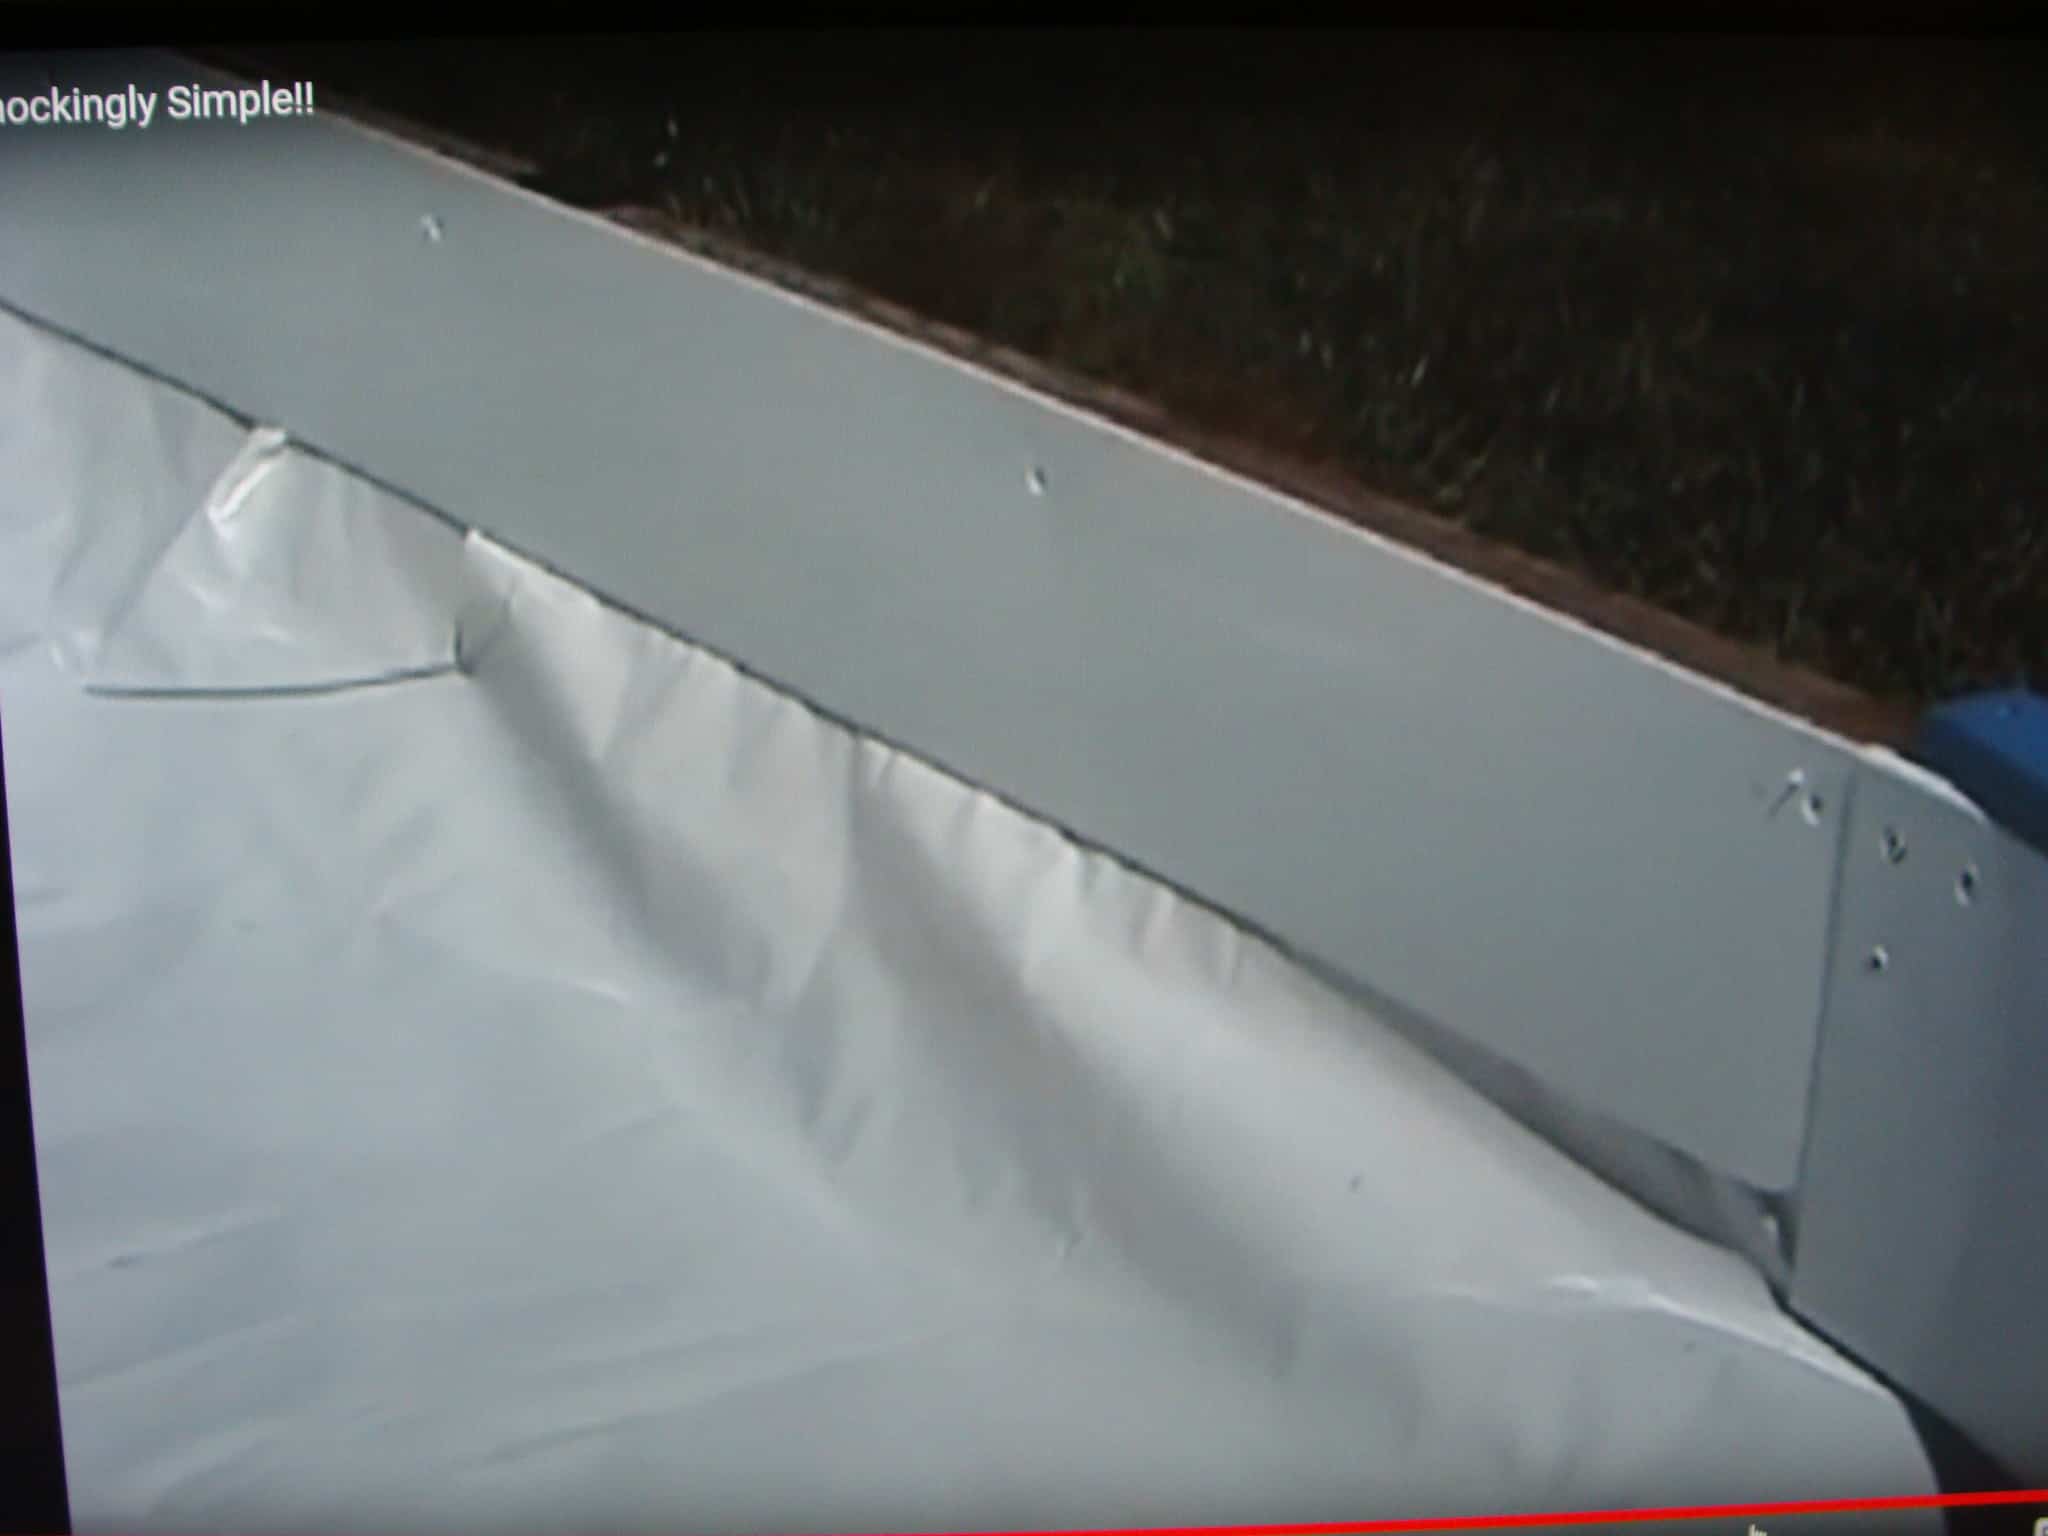

Add Liner Protection Kickplate in yellow as shown below or white Kickplate at your water/ice level sandwiching the liner between creating protection for you liner.
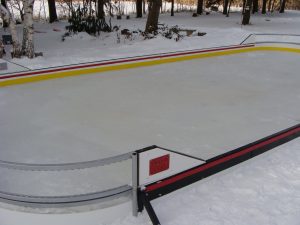
and when the season is done…..remove screws and all parts (about an hour depending on size) retaining there look, color and style. Store away for the summer.